The short answer
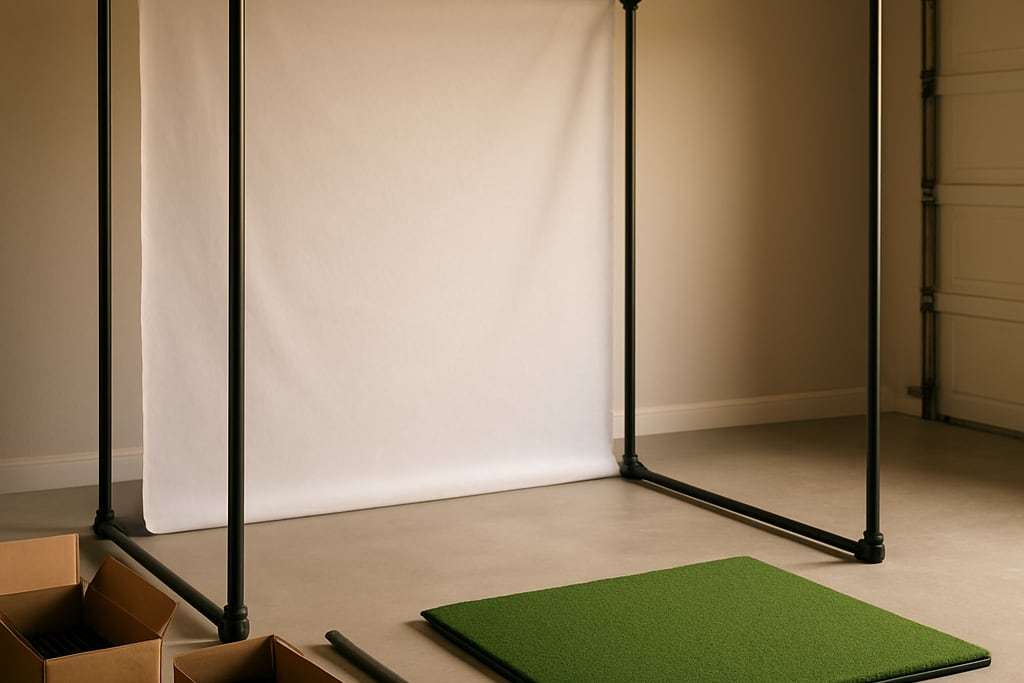
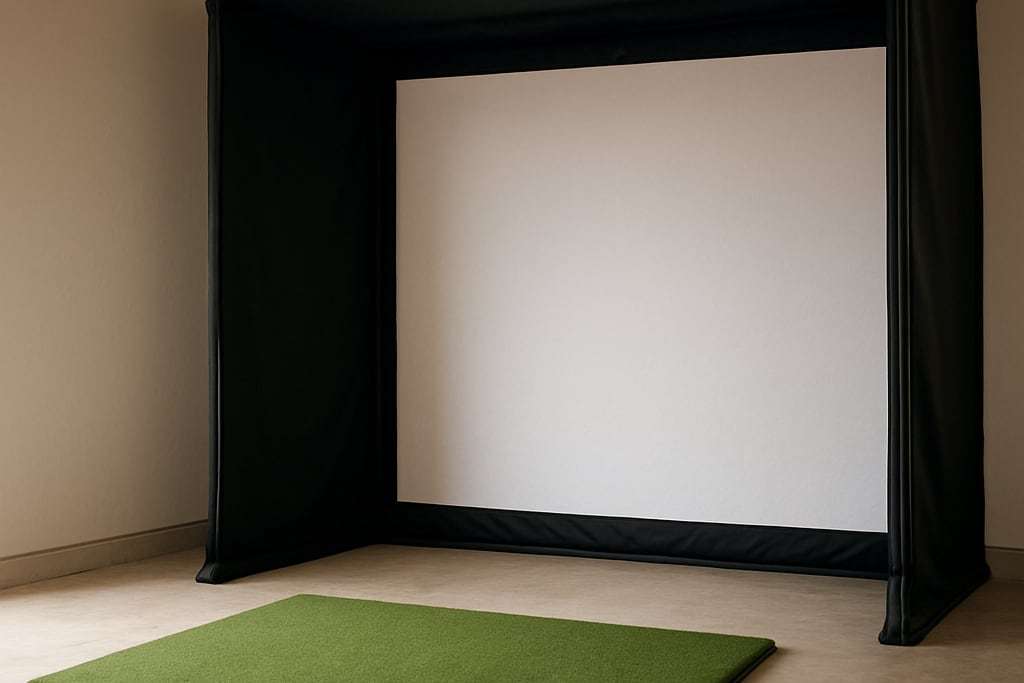
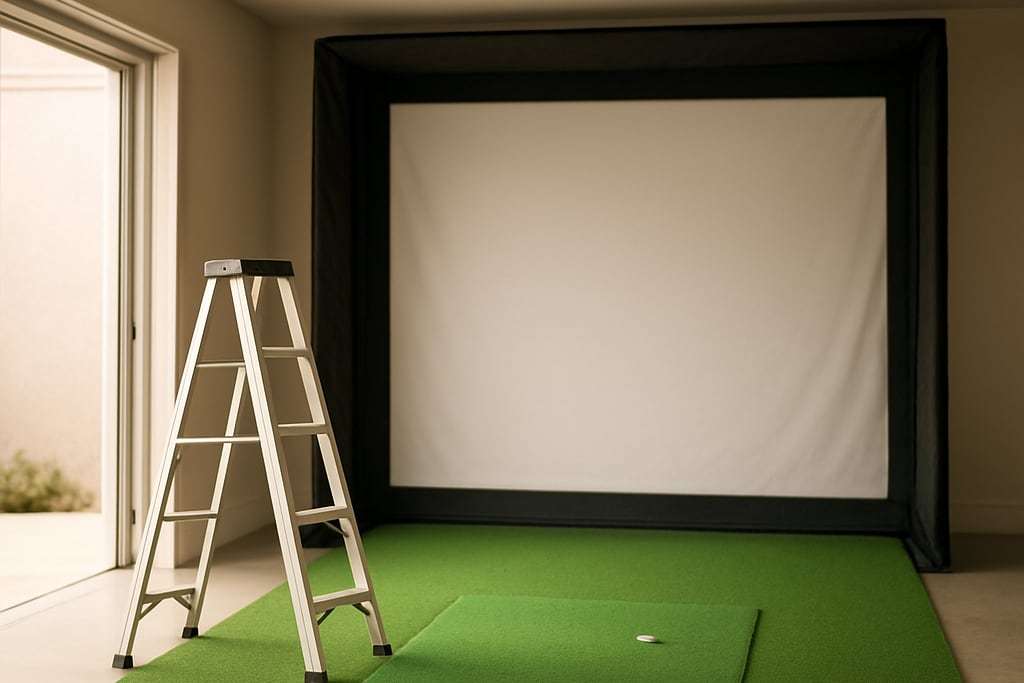
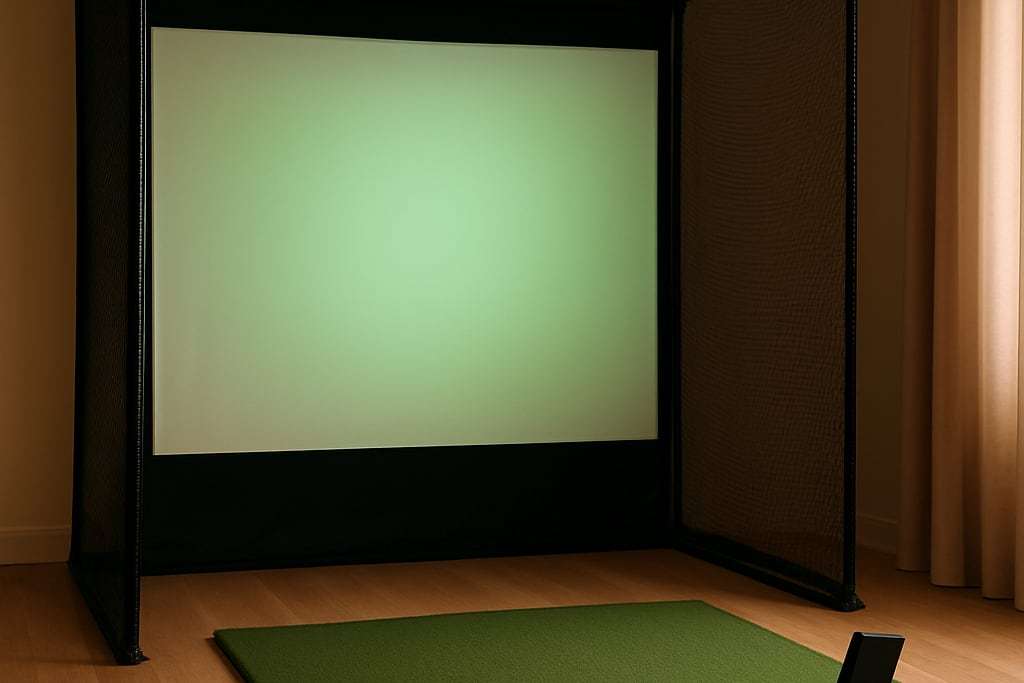
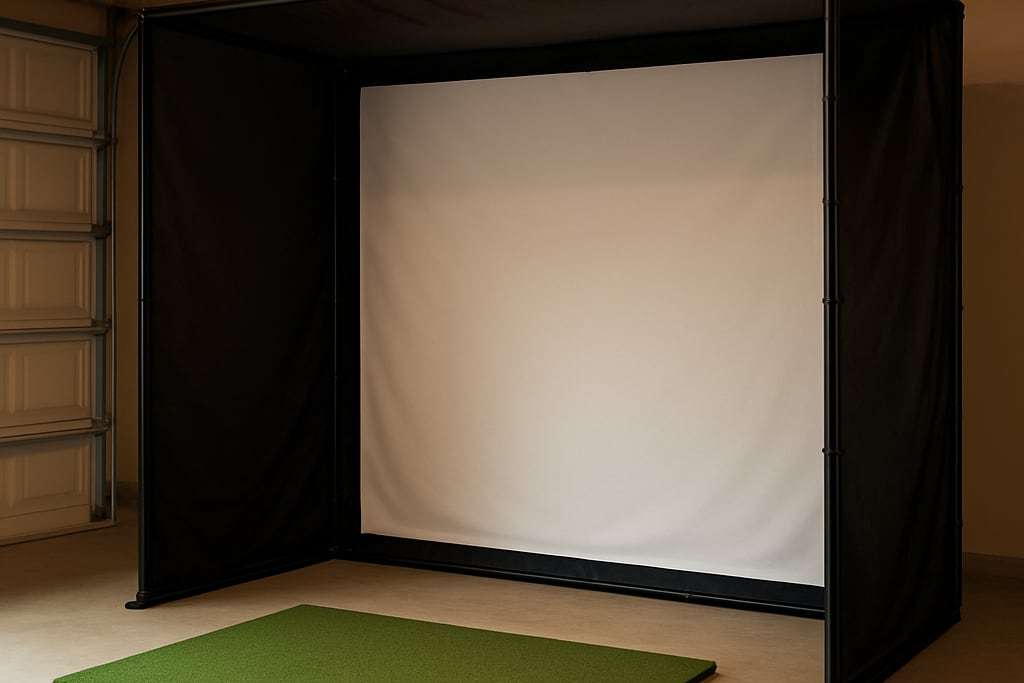
A golf simulator enclosure is the frame, impact screen and side panels sold as one kit. For most first builds, start with Carl's Place DIY Golf Enclosure Kit with Impact Screen, from $999.95, and add the frame pipe yourself. Pay more only if you want a bolt-together aluminum frame, a retractable screen or a curved view.
Some links on this site may earn us a commission if you buy, at no extra cost to you. It never changes what we recommend.
Left-handed golfers mirror the layout. This drawing shows a centred stance. If you hit from off-centre, each side still needs room for the swing: check the nearer wall first.
Our picks
Labels describe listed features and prices from maker and seller pages, not test results.
DIY Golf Enclosure Kit with Impact Screen
Enclosure
BlackStop fabric enclosure with an impact screen that runs to the floor, from $999.95.
- MaterialBlackStop fabric enclosure
- ScreenImpact screen that runs to the floor
- FrameFittings included; pipe sold separately or as a Pipe Framing Kit
Listed pricefrom $999.95
Check price at Carl's PlaceSpecs & trade-offs
Fittings are included, but the pipe is sold separately or as a Pipe Framing Kit, and the price rises with size.
- Material
- BlackStop fabric enclosure
- Screen
- Impact screen that runs to the floor
- Frame
- Fittings included; pipe sold separately or as a Pipe Framing Kit
- Lowest-priced Carl's enclosure kit
- Screen runs to the floor
- You build the frame
- Price rises with size
- Needs space for the full width and depth
simDIY Kit
Enclosure
Frame, pre-cut woven polyester screen and hardware ship together, from $1,499, in 8x10.5 or 9x12 sizes.
- Sizes8x10.5 or 9x12
- FrameIncluded
- ScreenPre-cut woven polyester
Listed pricefrom $1,499
Check price at Rain or Shine GolfSpecs & trade-offs
The mat is sold separately.
- Frame
- Included
- Screen
- Pre-cut woven polyester
- Sizes
- 8x10.5 or 9x12
- Lower price than SwingBay
- Frame, screen and hardware in one order
- DIY assembly
- Mat sold separately
- Needs a dedicated room
SwingBay Golf Simulator Screen and Enclosure
Enclosure
Powder-coated aluminum frame with quick-connect fittings and a screen rated to 250 mph, from $1,999.
- FramePowder-coated aluminum with quick-connect fittings
- ScreenBallistics-grade woven polyester rated to 250 mph
- SetupUnder 20 minutes solo, per the retailer
Listed pricefrom $1,999
Check price at Rain or Shine GolfSpecs & trade-offs
Rain or Shine says one person can assemble it in under 20 minutes. Sizes are fixed.
- Frame
- Powder-coated aluminum with quick-connect fittings
- Screen
- Ballistics-grade woven polyester rated to 250 mph
- Setup
- Under 20 minutes solo, per the retailer
- Fast assembly
- Triple-layer screen option for less bounce-back
- Costs more than DIY pipe kits
- Fixed sizes
- Needs a full-size room
SportScreen Vanish LITE
Enclosure
Semi-retractable screen with a hand crank or powered retraction, from $2,299.99.
- TypeSemi-retractable
- RetractionHand crank or powered
- MountTwo anchor points on one surface
Listed pricefrom $2,299.99
Check price at Rain or Shine GolfSpecs & trade-offs
It works with sloped or vaulted ceilings, but powered retraction adds cost.
- Type
- Semi-retractable
- Retraction
- Hand crank or powered
- Mount
- Two anchor points on one surface
- Gets the room back after play
- Works with sloped or vaulted ceilings
- Powered retraction adds cost
- Wall or ceiling anchoring needs care
- Costs more than fixed screens
Pro Golf Simulator Enclosure Kit with Impact Screen
Enclosure
Described as commercial-grade, with 2 inch EMT pipe (sold separately) and BlackStop performance fabric, from $3,409.95.
- Frame2 inch EMT pipe (sold separately)
- FabricBlackStop performance fabric
Listed pricefrom $3,409.95
Check price at Carl's PlaceSpecs & trade-offs
- Frame
- 2 inch EMT pipe (sold separately)
- Fabric
- BlackStop performance fabric
- Described as commercial-grade
- Full enclosure
- High cost
- EMT pipe sold separately
- Needs a dedicated room
Curved Golf Simulator Enclosure Kit with Impact Screen
Enclosure
Curved shape that wraps around the view, from $4,894.95.
- ShapeCurved, wraps around the view
- UseHome or commercial
Listed pricefrom $4,894.95
Check price at Carl's PlaceSpecs & trade-offs
It needs more depth and more build effort.
- Shape
- Curved, wraps around the view
- Use
- Home or commercial
- Wider, more immersive view
- Professional-grade materials, per the maker
- Highest-priced enclosure here
- Needs more depth
- Build effort
Quick comparison (prices change often; check the seller for today's price)
| Model | Listed price | Best for | Type | Seller link |
|---|---|---|---|---|
| Carl's Place DIY Golf Enclosure Kit with Impact Screen | from $999.95 | Lowest-priced kit to start with | Enclosure | Check price at Carl's Place |
| Rain or Shine Golf simDIY Kit | from $1,499 | Frame included in one order | Enclosure | Check price at Rain or Shine Golf |
| Rain or Shine Golf SwingBay Golf Simulator Screen and Enclosure | from $1,999 | Quickest to put up | Enclosure | Check price at Rain or Shine Golf |
| Rain or Shine Golf SportScreen Vanish LITE | from $2,299.99 | For rooms you also use for other things | Enclosure | Check price at Rain or Shine Golf |
| Carl's Place Pro Golf Simulator Enclosure Kit with Impact Screen | from $3,409.95 | Heavier frame for a dedicated room | Enclosure | Check price at Carl's Place |
| Carl's Place Curved Golf Simulator Enclosure Kit with Impact Screen | from $4,894.95 | Widest view, highest price | Enclosure | Check price at Carl's Place |
An enclosure is the part of a home simulator that stops the ball, holds the screen and keeps stray shots off your walls. Buying it as a kit saves you from sourcing pipe, fabric and fittings one by one. The picks above are described from the sellers’ published specifications and prices, not from our own use, so check each product page for current sizes before you order.
What an enclosure kit actually gives you
Most kits have three layers. There is a frame, usually steel or aluminum pipe. There is an impact screen that takes the ball and shows the projected image. And there are side panels and a top panel, usually a black nylon or polyester, that catch shots that miss the screen.
Carl’s Place says its kits ship with a 250 mph screen, the black nylon enclosure, 6-inch ball bungees, a weight bag and steel corner fittings. That is a lot of the build, but not all of it. The DIY kit’s frame fittings are included while the pipe is sold separately or as a Pipe Framing Kit. The Pro kit lists 2 inch EMT pipe as a separate purchase. Rain or Shine’s simDIY and SwingBay include the frame.
A kit is not a full simulator. You still need a launch monitor, a mat, a projector and a computer or tablet. For a bundle that adds those, see the golf simulator packages guide.
Room first, then size
Pick the enclosure after you have measured the room, not before. Sources give different minimums:
| Source | Minimum room for an enclosure |
|---|---|
| Canvas Etc | 10 ft wide, 12 ft deep, 9 ft high |
| FlightScope SwingBay page | 8 ft 6 in high, 10.5 ft wide, 18 ft deep |
| Shop Indoor Golf (enclosure width) | about 10 ft wide with at least 6 in buffer each side, about 12 ft deep on average |
The SwingBay figure is the deepest of the three, and FlightScope says landing pads can raise it further. Plan around the largest figure that applies to the kit you want, and measure your longest club swing in the actual spot. Our room size guide shows how.
The simDIY comes in 8x10.5 or 9x12. The curved enclosure needs more depth than a flat one. If your room is narrow, read the narrow room guide before you commit to a width.
Frame material: pipe or aluminum
Pipe frames are the lowest-priced route here, and you buy the pipe yourself. Carl’s DIY kit uses 1 inch pipe and its Pro kit uses 2 inch pipe, according to a PlayBetter comparison.
Aluminum quick-connect frames, like the SwingBay’s powder-coated aluminum, trade price for speed. Rain or Shine says one person can put it up in under 20 minutes. The catch is fixed sizes, so a room that does not match one of them leaves you with gaps at the sides or a screen that is too small.
Retractable screens solve a different problem. The SportScreen Vanish LITE rolls up with a hand crank or powered, which gives you the room back after play. Powered retraction adds cost, and wall or ceiling anchoring needs care. For a garage door version, see the retractable screen guide.
Screen fabric and rebound
Fabric matters for noise, image and how much the ball bounces back. Canvas Etc, a screen maker, says multilayer enclosure fabrics reduce impact noise by up to 15 dB compared with a basic hanging screen. That is the maker’s own testing claim, not an independent measurement. The same page says polyester of at least 9 oz per square yard and 500 denier or more is built to survive heavy use, again as a maker claim.
Rebound is the bigger practical issue. One builder on a golf simulator forum reports that hard objects like support pipes are the main rebound hazard and that soft coverings keep rebounds weak. We found no standards-body rebound data, so treat that as one builder’s experience. Carl’s Place says foam padding behind the screen edge flaps slows errant shots that hit the frame. The SwingBay lists a triple-layer screen option for less bounce-back.
No kit makes a setup safe. Give yourself room to stand clear, keep children and pets out of the swing zone while someone is hitting, and let a qualified contractor decide anything structural.
Mounting a projector
Plan the projector mount before you finish the frame, and keep the projector and its mount outside the ball flight. Guidance on the exact spot varies by maker, so follow the manual or your installer.
The screen margin matters too. BenQ recommends at least 2.4 inches of margin so the image does not run off the screen. Our projector setup guide walks through mounting and keystone, and the projector picks cover what to buy.
What the kits cost
Carl’s DIY kit starts at $999.95, the simDIY at $1,499, the SwingBay at $1,999, the Vanish LITE at $2,299.99, the Pro kit at $3,409.95 and the curved kit at $4,894.95. Every “from” price rises with size, so price the size you need, not the smallest one. Then add the pipe where it is sold separately, a mat, a projector and the launch monitor. For the whole build, see the cost guide and the under $5,000 builds.
Run the numbers
Check the frame against your room with the room size calculator, and use the projector calculator to see where the projector sits for the screen size you choose.
Who should skip a full enclosure
- Anyone who only wants numbers. A net and a monitor cost less, and a net cannot show a projected course. The enclosure vs net guide lays out what you give up.
- Handy owners with a clear plan. A pipe frame built from your own measurements may fit better than a fixed-size kit. Read the DIY enclosure guide first.
- Anyone with a ceiling under about 9 ft. The frame and the swing both need height, and a kit will not create it. The ceiling height guide shows how to test.
Common buying mistakes
- Assuming the pipe is included. Check the product page. Two of the Carl’s kits sell pipe separately.
- Ordering the enclosure before measuring. Width, depth and ceiling height all decide which size works.
- Ignoring the depth behind the screen. Shop Indoor Golf says a screen should sit 12 to 16 inches from the wall behind it, and Carl’s Place says at least 12 inches.
- Skipping the padding. The frame edges are where rebounds start.
- Forgetting the floor and mat. An enclosure sits on whatever floor you have. The mat guide covers what goes under the golfer.
Frequently asked questions
What is included in a golf simulator enclosure kit?
Carl's Place says its enclosure kits include a 250 mph impact screen, a black nylon enclosure, 6-inch ball bungees, a weight bag and steel corner fittings. The frame pipe is often not in the box: Carl's DIY kit and Pro kit both list pipe as a separate purchase, so read the product page before you order.
How big a room does an enclosure need?
Canvas Etc puts the minimum for an enclosure at 10 ft wide, 12 ft deep and 9 ft high. The FlightScope SwingBay page lists 8 ft 6 in high by 10.5 ft wide by 18 ft deep, and notes that landing pads can raise the requirement. Measure your own swing before you trust any of these numbers.
Is a DIY enclosure kit cheaper than a bolt-together one?
On sticker price, yes: Carl's DIY kit starts at $999.95 against $1,999 for the SwingBay. But you also buy and cut the pipe, so add that and your time before you compare. Component price bands from Golfjoy put a DIY enclosure at $500 to $1,500 and a professional one at $2,000 to $5,000 or more.
Does the enclosure protect the ceiling?
Not by itself. Carl's Place says both its DIY and Pro enclosures include an overhead ceiling panel and sells ceiling baffles as an add-on, and it names a Pro Enclosure with the hitting area inside as the best ceiling protection. High wedge shots are the main ceiling risk.
Can I hang a projector inside the enclosure?
Yes, but keep it outside the ball flight. Mounting guidance varies by maker and installer, so follow the projector manual or your installer for the exact spot. Plan the mount before you finish the frame.
Sources
- Carl's Place: how to choose a golf impact screen material
- Carl's Place: walls, ceilings and protecting your golf sim space
- Canvas Etc: hanging vs enclosure vs retractable golf impact screens
- FlightScope: SwingBay enclosure
- Rain or Shine Golf: SwingBay screen and enclosure
- BenQ: golf simulator projector Q&A