The short answer
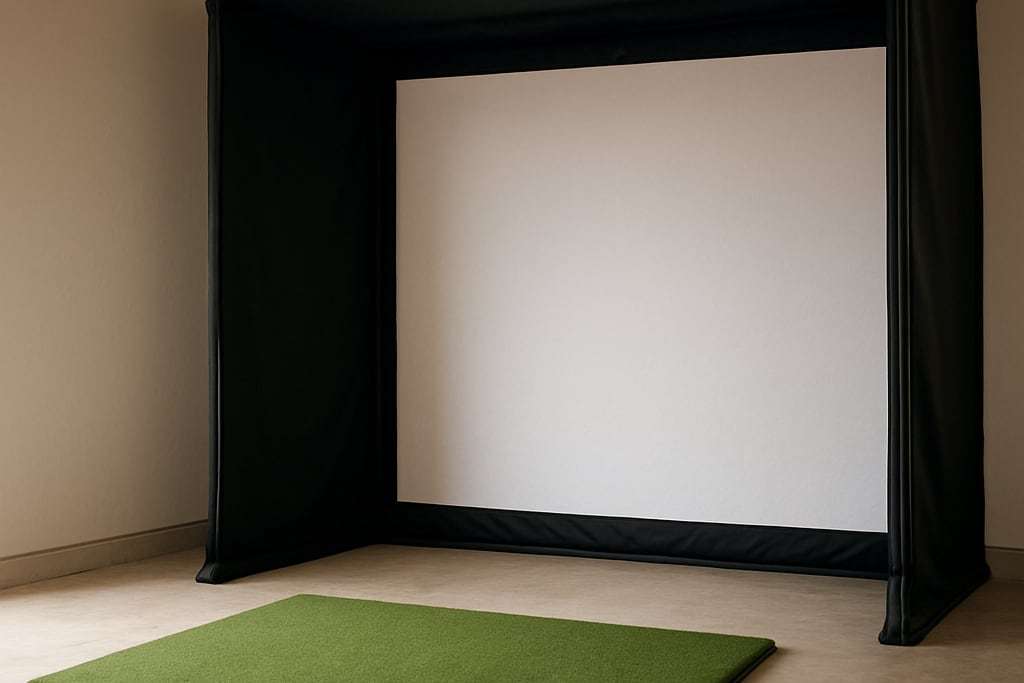
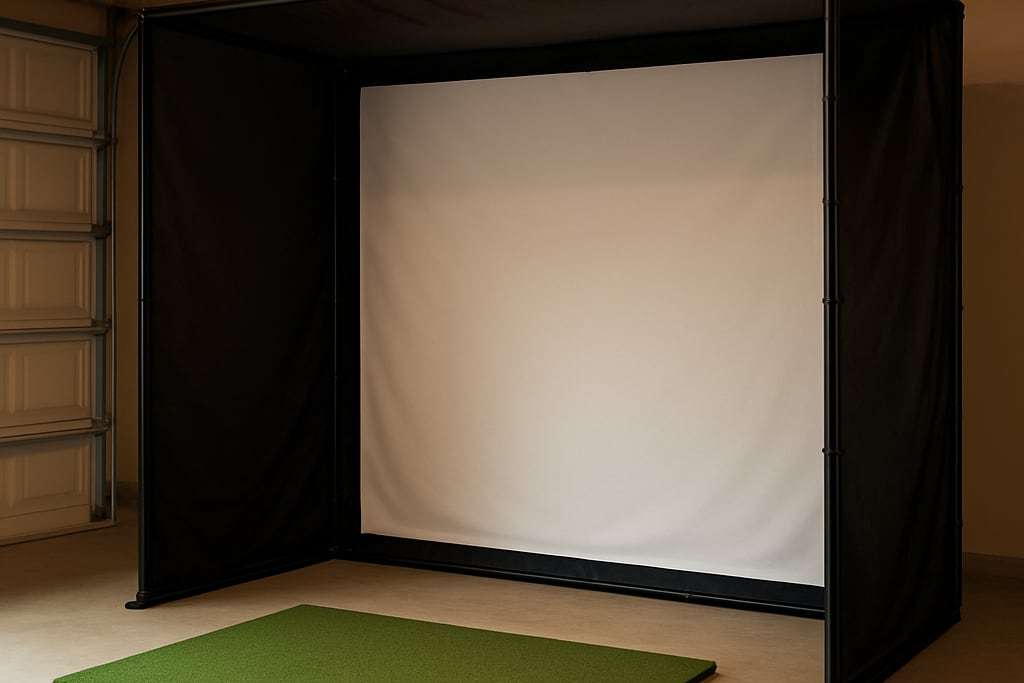
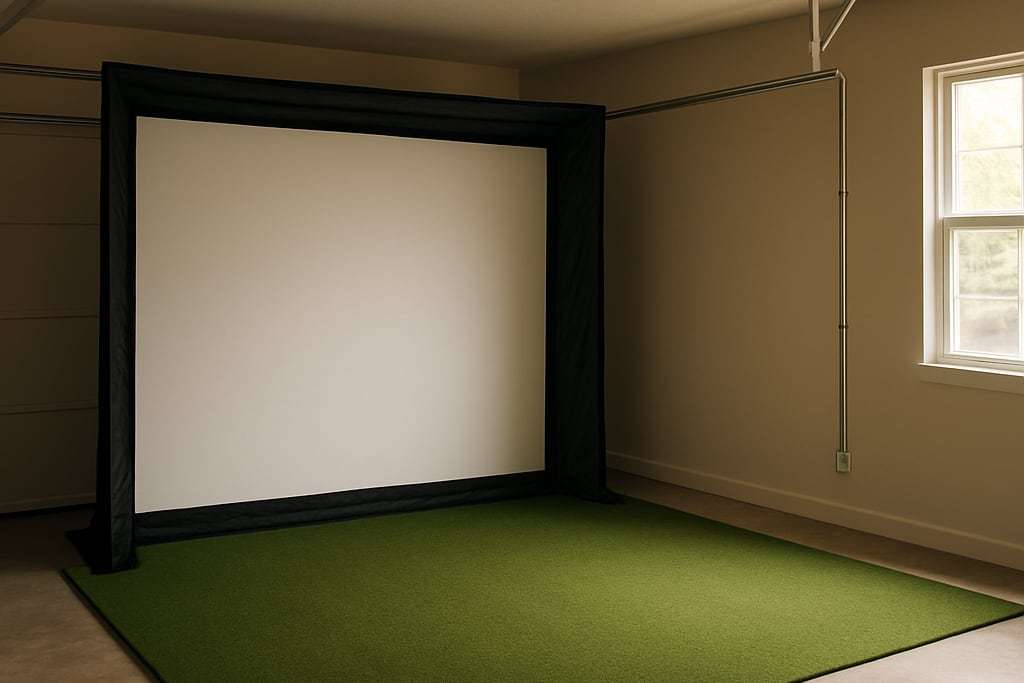
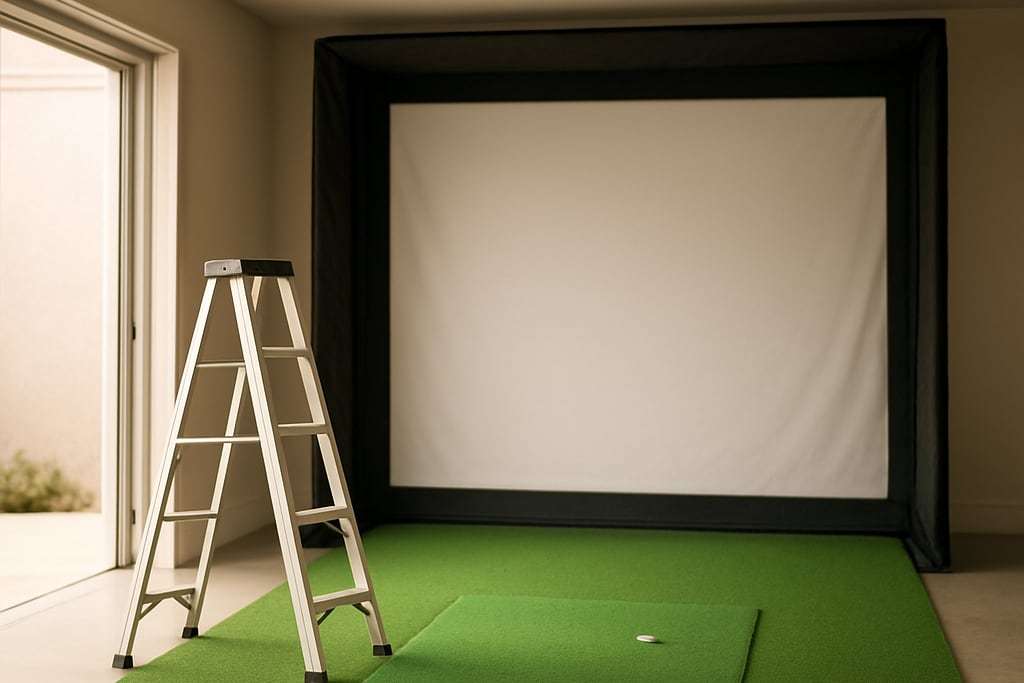
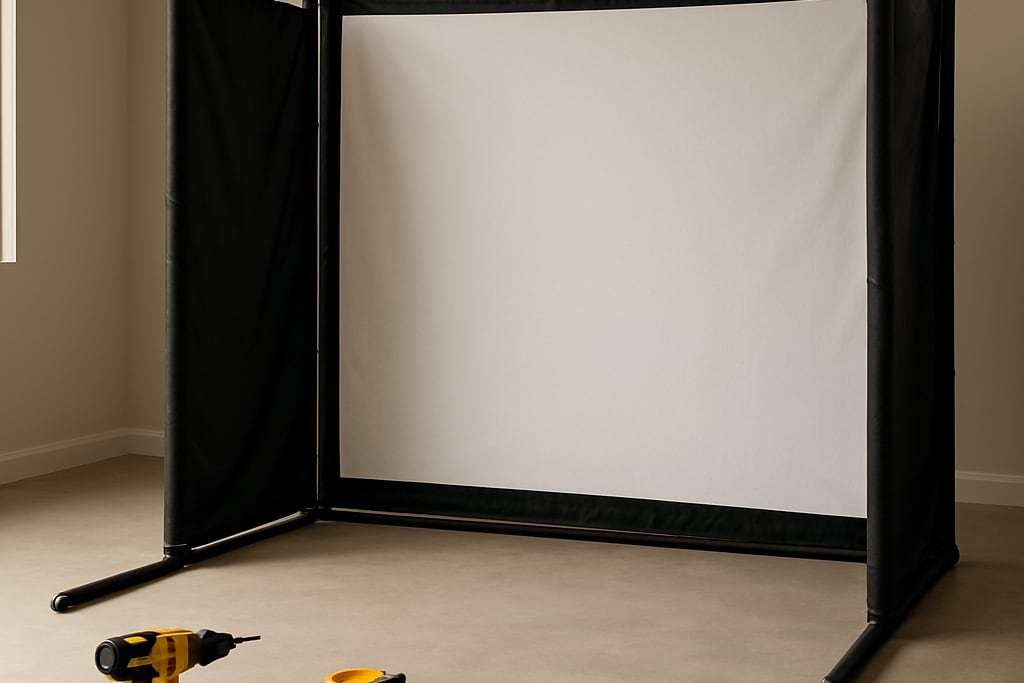
A DIY enclosure is a frame, a taut impact screen, side walls and a ceiling panel. Kits start from $999.95 for Carl's Place and $1,499 for Rain or Shine's SimDIY, with the pipe often sold separately. The build is easy to underestimate: the screen has to be tight and wrinkle free, and every hard edge a ball can reach needs padding.
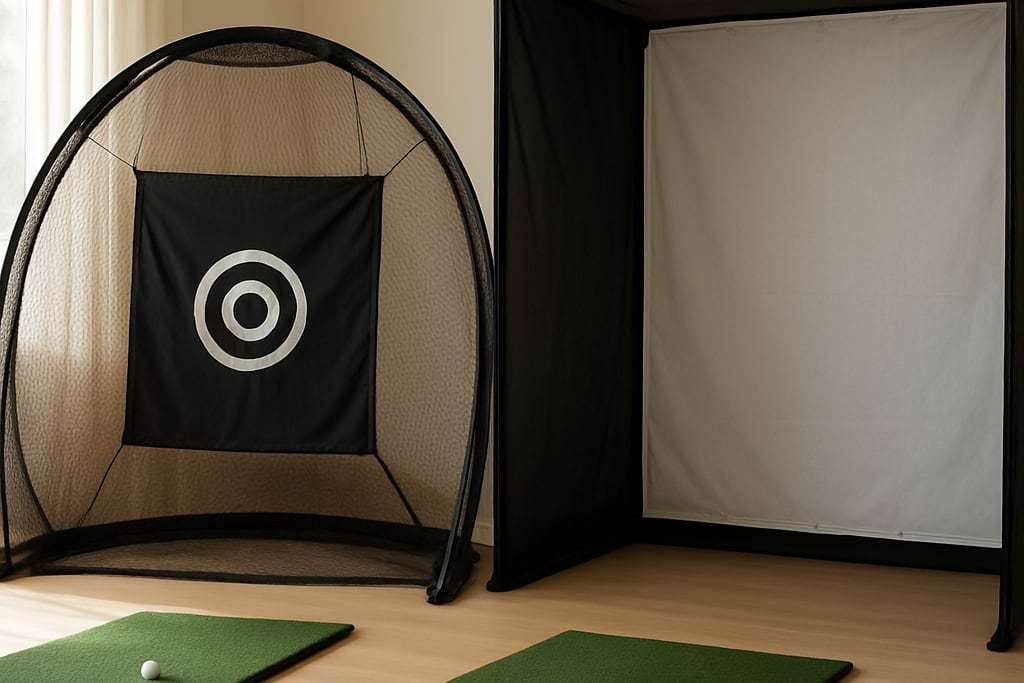
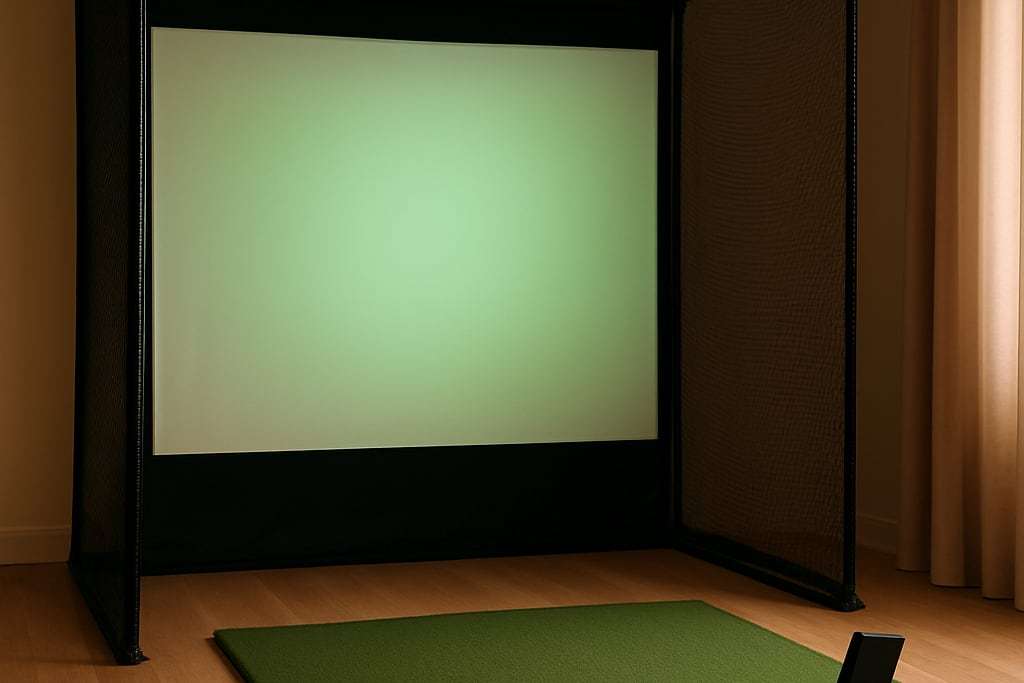
An enclosure does three jobs. It holds a screen so the ball has somewhere to go, it catches the ball when it goes elsewhere, and it frames the image. Building your own gives you control over size and cost, but the build puts the safety decisions on you. This guide covers the parts, the order to assemble them and the places DIY builds most often cut corners.
If you have not yet decided between building and buying, the DIY versus package comparison lays out cost, time and warranty.
The four parts
Every enclosure has the same pieces.
- Frame. Metal pipe and fittings that hold everything up.
- Impact screen. A woven fabric the ball hits and the projector lights.
- Side walls and a ceiling panel. Soft panels that catch strays.
- Padding. Foam or similar where the ball can strike a hard edge.
Carl’s Place says its kits include a 250 mph screen, a black nylon enclosure, 6 inch ball bungees, a weight bag and steel corner fittings. Side walls are reinforced nylon or polyester, according to aboutGOLF.
The four parts at a glance:
| Part | Job | What to check |
|---|---|---|
| Frame | Holds the screen and walls up | Pipe size and whether the pipe is in the kit |
| Impact screen | Stops the ball and shows the image | Rated ball speed, thickness, grommets |
| Side walls and ceiling panel | Catch stray shots | Fabric strength, coverage above the swing |
| Padding | Softens hard edges | Every hard edge a ball can reach |
Frame materials
The frame is where kits differ. PlayBetter says Carl’s Place’s DIY kit uses 1 inch pipes and its Pro kit uses 2 inch pipes. In Carl’s listings, the DIY kit’s fittings are included while the pipe is sold separately or as a Pipe Framing Kit, and the Pro kit lists 2 inch EMT pipe sold separately.
That matters for budgeting. A kit price of $999.95 is not the finished price if pipe is extra. Rain or Shine’s SimDIY (from $1,499) lists the frame as included, with a pre-cut woven polyester screen, in 8 x 10.5 or 9 x 12 sizes, and the mat is sold separately.
Pipe choices to ask about:
- The pipe size and wall the kit’s maker specifies for your enclosure size.
- One forum builder reports that hard pipes are the main rebound hazard, and we found no standards-body rebound data, so treat that as one builder’s experience; still, cover every pipe a ball can reach with something soft.
- Metal fittings at the corners and the screen edge are also strike points.
A structural question, such as hanging a frame from joists or the ceiling, belongs to a qualified contractor. Free-standing frames that rest on the floor avoid that question, though they take floor space.
Size the enclosure to the room
Shop Indoor Golf says width is typically at least about 10 ft with at least 6 in of buffer on each side, and depth is about 12 ft on average, within a range of 10 to 20 ft. Netting vendors advise at least 1 ft of buffer behind and to the sides.
Leave room behind the screen too. Shop Indoor Golf says the screen should sit 12 to 16 inches from the wall behind it, and Carl’s Place says at least 12 inches. More room depth also helps reduce bounce-back, according to Golfbays. The full set of room numbers is in the room-size guide, and the ceiling height is in the ceiling guide.
Screen fabric and tension
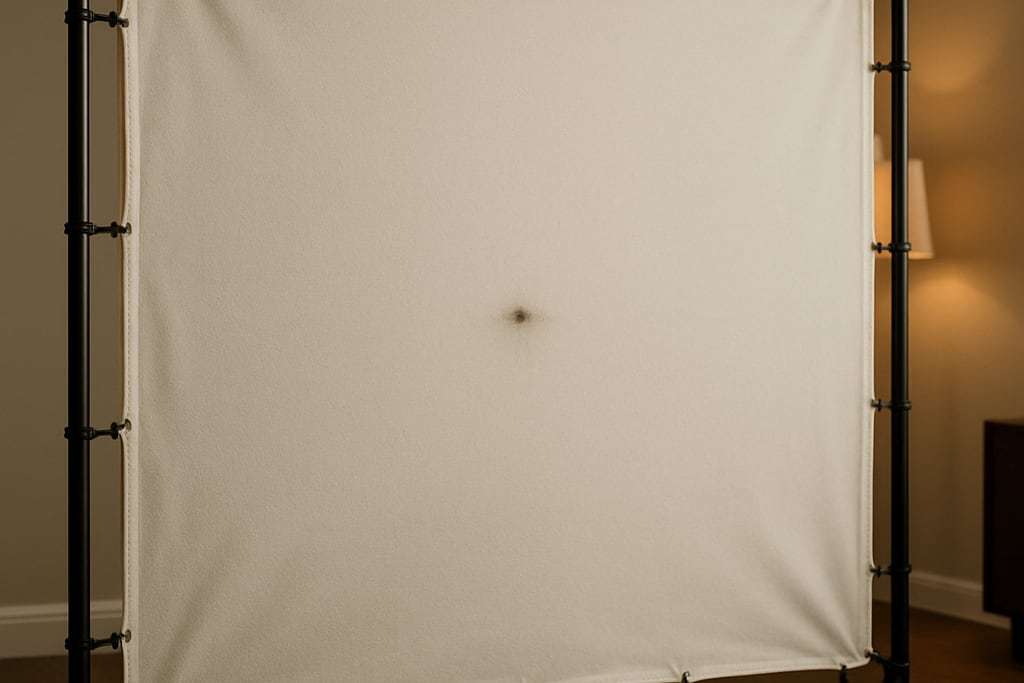
The screen fabric is the part you want to buy from a maker, not improvise. Canvas Etc says polyester at least 9 oz per square yard with a denier of 500 or more reportedly survives more than 10,000 impacts above 150 mph, and a thread count of at least 200 per inch helps image sharpness. Those are maker claims from internal testing. Carl’s Place rates its Standard screen to protect shots up to 250 mph and says Premium and gray fabrics dampen noise and reduce bounce-back, though it gives no measurements. Burn marks are normal, especially on high-spin shots.
Tension is the build step people rush. aboutGOLF says the screen should be taut and wrinkle free. Tips:
- Use the bungees or tensioning hardware that came with the kit and follow the maker’s steps.
- Check the image with the projector on. A loose screen ripples the picture.
- Leave a margin around the image. BenQ says at least 2.4 in (6 cm) of screen beyond the projected image so it does not run off the fabric.
If you are buying the screen separately, the impact screen guide compares fabrics and sizes. Carl’s Place’s impact screen starts from $179.95.
Side walls, the ceiling and rebound
Rebound is the part to take seriously. A forum builder with acoustic foam on the ceiling was hit in the stomach by a rebounding ball. Any unprotected area will eventually get a stray shot, and sim data often makes players swing harder.
Pad the places a ball can find:
- Ceiling. Carl’s Place says both its enclosures include a ceiling panel, and ceiling baffles (vinyl strips) are available. High-arching wedge shots are the main ceiling risk.
- Screen edge flaps. Carl’s Place says foam behind the edge flaps slows errant shots that hit the frame and reduces the risk of facial injury.
- Side seams. A forum builder reports offset hits can pass through the gap where the screen meets the side curtains. Close that gap.
- Lower edge. One forum builder used foam about 8 inches high along the bottom behind the screen.
- Net walls. Carl’s Place says net walls wear out faster than impact screens and should only be used as side walls.
No padding makes a rebound harmless, and none of it replaces clearance. Never describe a build as safe because it has foam on it. Measure your own swing, stand where the maker says to stand and keep children, pets and bystanders out of the room while someone hits.
The projector in the enclosure
The projector mount sits in the strike zone unless you plan it. Keep the projector and its mount outside the ball flight; guidance on the exact spot varies by maker, so follow the manual or your installer. The details are in the projector setup guide. Plan the mount and the enclosure at the same time, because a mount bolted to the frame is part of the frame.
Cost, honestly
Carl’s Place kits run from $999.95 for the DIY kit to $3,409.95 for the Pro kit, and $4,894.95 for the curved kit. The Rain or Shine SimDIY starts from $1,499 and its SwingBay from $1,999. Golfjoy’s bands are $500 to $1,500 for a DIY enclosure and $2,000 to $5,000 or more for a professional one. Add the pipe if it is not in the kit, the mat, padding and your time.
If the sums land close to a package, the enclosure picks show what the ready-made kits include. If you only want to hit and see numbers, a net costs less, and the enclosure versus net comparison explains what you give up. For a garage-specific plan, see the garage build steps, and for a door-mounted screen see the retractable screen guide. Whole-build examples with prices are in the under $5,000 builds.
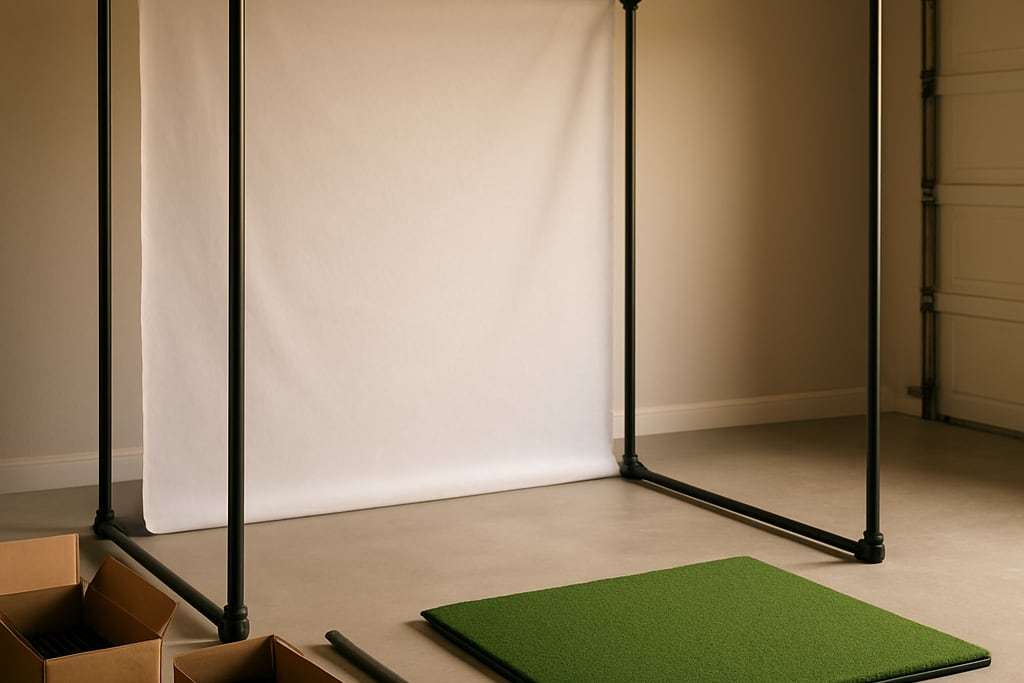
A build order that works
- Measure the room and mark the frame footprint on the floor.
- Assemble and square the frame, and check it stands without leaning.
- Hang the ceiling panel and side walls.
- Fit the screen and tension it evenly.
- Add padding at every hard edge, the screen edge flaps, the seams and the base.
- Mount the projector and test the image.
- Run slow practice swings, then half-speed shots, before any full swing.
- Look over the screen after a few sessions for wear or loose fittings.
A frame that wobbles, a screen that sags or a gap you can see light through are all signs to stop and fix before hitting.
Run the numbers
Work out the screen size and projector distance with the projector calculator, and check the finished frame against your room with the room size calculator.
Frequently asked questions
What is the frame made of?
Most DIY enclosures use metal pipe with corner fittings. Carl's Place's DIY kit uses 1 inch pipe and its Pro kit uses 2 inch pipe, according to PlayBetter. In Carl's listings the pipe is sold separately or as a Pipe Framing Kit, so check what the kit actually includes.
How big should the enclosure be?
Shop Indoor Golf says the width is typically at least about 10 ft with at least 6 in of buffer on each side, and the depth averages about 12 ft, within a 10 to 20 ft range. Rain or Shine's SimDIY comes in 8 x 10.5 and 9 x 12 sizes.
How tight does the screen need to be?
aboutGOLF says the impact screen should be taut and wrinkle free. A loose screen can ripple the projected image, so follow the maker's tensioning instructions and check the corners and edges.
Do I need a ceiling panel?
Carl's Place says both its DIY and Pro enclosures include an overhead ceiling panel and that ceiling baffles are available. It says the best ceiling protection is a Pro enclosure with the hitting area inside it. High-arching wedge shots are the main ceiling risk.
How much does a DIY enclosure cost compared with a ready-made one?
Golfjoy puts DIY enclosures at $500 to $1,500 and professional ones at $2,000 to $5,000 or more. Carl's Place kits run from $999.95 for the DIY kit to $3,409.95 for the Pro kit, and the pipe may be extra. Compare against a package before you commit.
Sources
- aboutGOLF: DIY golf simulator guide
- Carl's Place: Walls, ceilings and protecting your sim space
- PlayBetter: Carl's Place DIY, Pro and curved enclosures compared
- Shop Indoor Golf: How much space do you need for a golf simulator
- Carl's Place: How to choose a golf impact screen material
- Golfjoy: How much does a golf simulator cost