The short answer
A DIY golf simulator can save money on the enclosure, with kits starting at $999.95, but you pay in assembly time and in matching parts that work together. A package such as Carl's Place's EYE MINI CORE bundle from $4,499.95 gives you one order and one dealer. Build if you enjoy it and can measure well, and buy a package if you want fewer decisions.
This comparison is built from dealer listings and published guides, not from building a simulator ourselves. Prices are the starting prices on the listings we reviewed.
What “DIY” and “package” mean here
A package is a bundle from one dealer: a launch monitor, an enclosure with an impact screen, and often a projector, mat and software. You order once and the dealer decides what goes together.
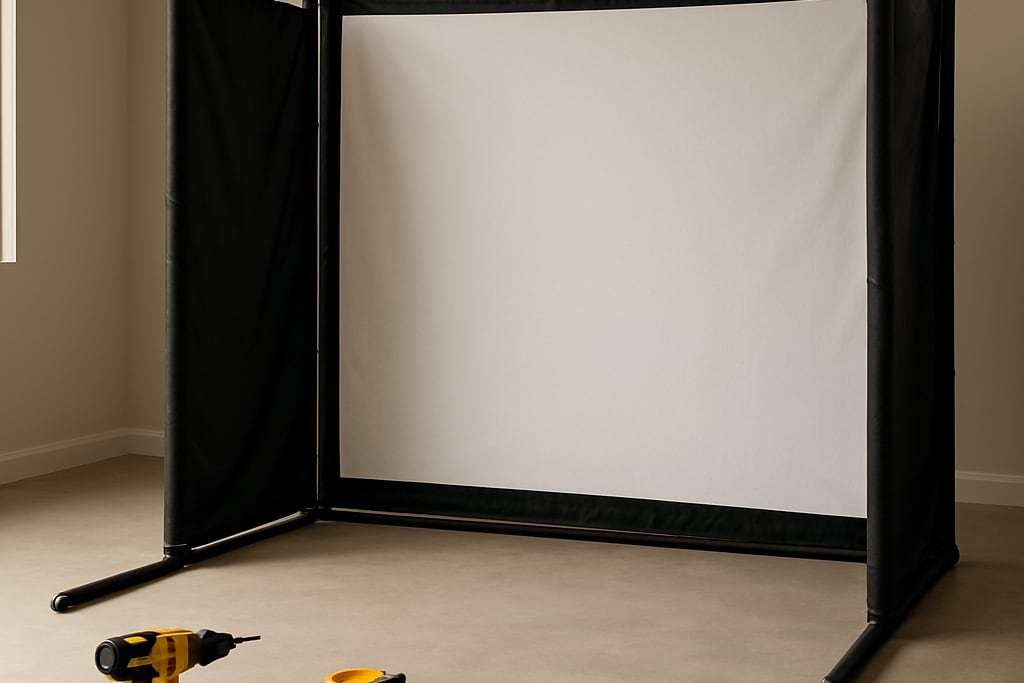
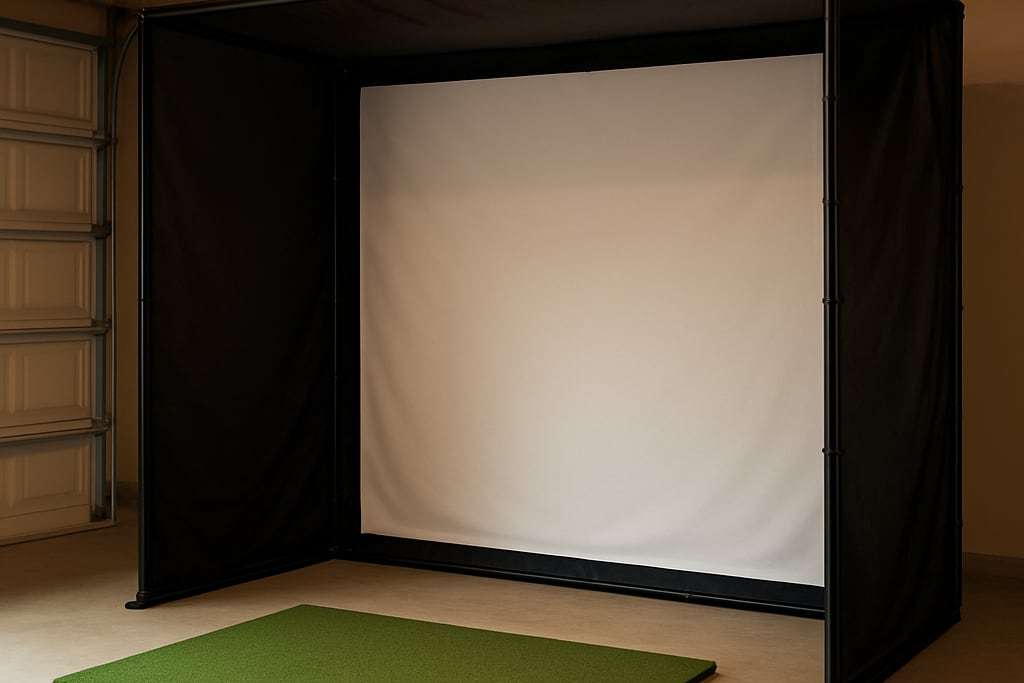
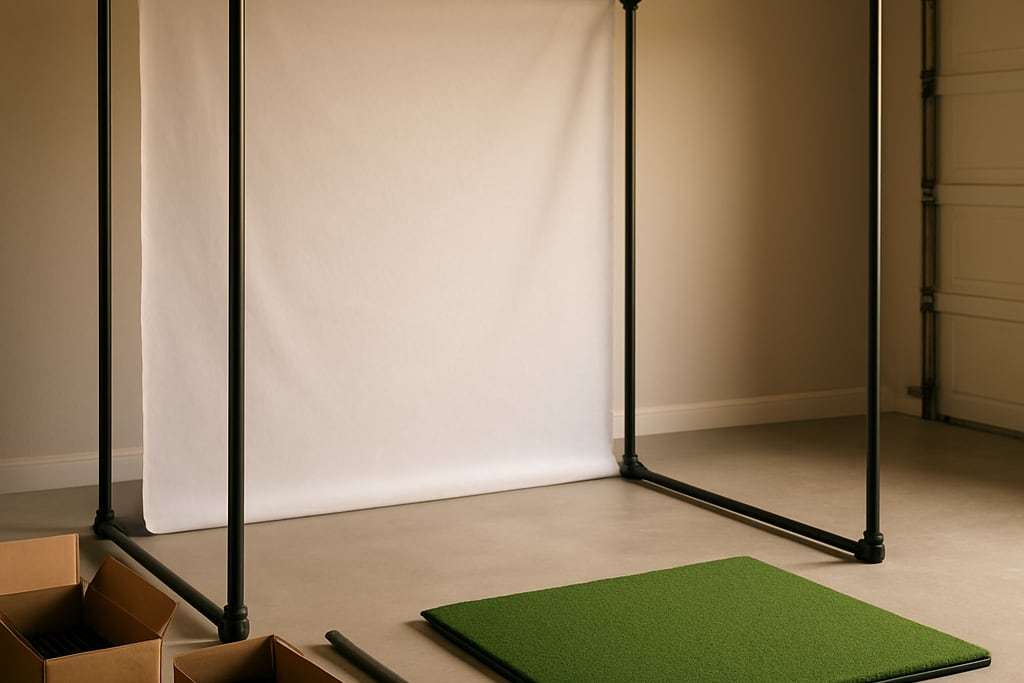
A DIY build means you choose each part, such as the monitor, frame, screen, projector and mat, and assemble them. Many builds sit in between, with a kit for the frame and separate purchases for everything else. Carl’s Place’s DIY Golf Enclosure Kit with Impact Screen is one example. It starts at $999.95, includes fittings, and sells the pipe separately or as a Pipe Framing Kit.
Cost: where DIY saves and where it does not
The saving is mostly in the frame and the screen. Golfjoy puts DIY enclosures at $500 to $1,500 and professional ones at $2,000 to $5,000 or more.
| Item | Starting price | Notes |
|---|---|---|
| Carl’s DIY enclosure kit with impact screen | $999.95 | You build the frame, price rises with size |
| Rain or Shine simDIY kit | $1,499 | Frame, screen and hardware, sizes 8x10.5 or 9x12 |
| Rain or Shine SwingBay | $1,999 | Aluminum frame, fixed sizes |
| Carl’s Pro enclosure kit | $3,409.95 | 2 inch EMT pipe sold separately |
| Carl’s impact screen alone | $179.95 | Needs your own frame |
Starting prices from the dealer listings; sizes and pipe change the final number.
The monitor, projector, mat and PC cost about the same whether you build or buy a bundle. So the saving is not the whole build, only the structure. To see the full picture, add up your own parts with the cost calculator.
A package can also be a fair price for what it holds. For example, Carl’s Place’s Rapsodo MLM2PRO package starts at $5,595 with the monitor, enclosure, GSPro software and a laser projector. Buying those parts yourself would mean pricing each one, and the contents will not match exactly. Compare the lists, not the totals.
Time and skill
DIY costs hours. The retailer figures for assembly are quick for a snap-together frame: under 20 minutes solo for the SwingBay and under 30 minutes for the SwingNet Pro net. No assembly time is published for a pipe-and-fabric kit, and none of these numbers include planning.
The rest of the build is where time goes. A Carl’s Place basement case study finished in a little over a month. Golfer’s Authority says relocating a ceiling fan or ductwork can add about one to two weeks. You also have to hang a projector, run cables, set up the PC and calibrate the monitor. Plan for outlets and data cables before finishing any walls.
Fit and room measurement
Package enclosures come in the sizes listed, so check the room before you pick one. DIY gives you freedom: Carl’s Place says its screens are customizable in size, and you can match the screen to your room. That freedom has a price, because you have to know your numbers. Measure ceiling height at the hitting position, swing a driver slowly in the real room, then add 6 to 9 inches, as Golfer’s Authority advises. Our room size guide walks through the steps.
Safety is part of fit. Ball rebound and ceiling strikes are real risks in a small enclosure, and no kit makes a room safe by itself. Cover hard pipes, pad the screen edge and keep people and pets out of the swing zone while someone hits. The net vs enclosure guide lists the padding advice.
Warranty and support
The listings do not spell out warranty terms, so ask each seller what is covered, for how long and who handles a claim. A package from one dealer gives you one point of contact when something does not fit. A DIY build spreads parts across sellers, and each part has its own return and support terms.
Who should build and who should buy
Build it yourself if:
- You enjoy hanging projectors, running cables and cutting screens to size.
- Your room has an odd shape, and a custom screen size helps.
- You want to spread spending over several months.
Buy a package if:
- You want one order and one dealer to talk to.
- Your time is worth more than the frame saving.
- You are not sure how the parts fit and would rather not find out.
If you are unsure, see our package comparison and enclosure comparison.
A middle path: kit plus your own parts
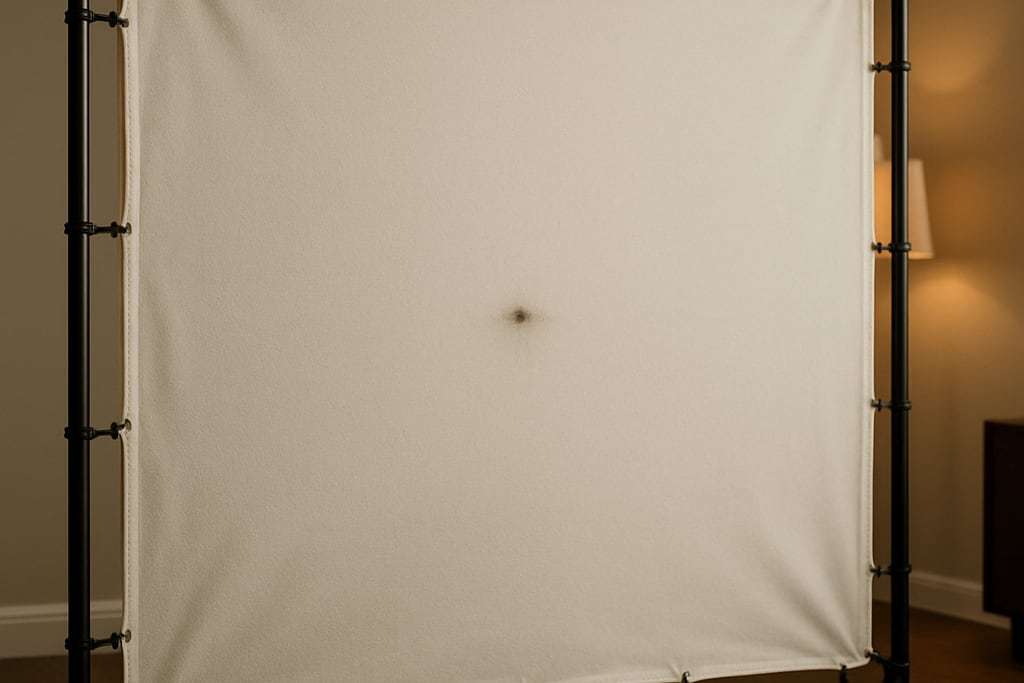
Many buyers split the difference. Shop Indoor Golf’s Square Omni SIG DIY package, from $2,899.98, is a DIY frame sold together with the Square Omni monitor and a SIGPRO Premium impact screen, with connectors and instructions included. Projector and mat may be extra, and rounds use Square’s paid tokens or third-party software. Rain or Shine Golf’s simDIY kit, from $1,499, comes with a frame, a pre-cut woven polyester screen and hardware, and the mat is sold separately.
This route keeps the single-dealer convenience for the hard-to-match parts, the monitor and the screen, while leaving the projector, mat and PC for you to choose. It also lets you stage the purchase: buy the monitor and net first, play for a few weeks, and add the screen and projector once you know you will use the room.
Common mistakes
aboutGOLF’s guide points to cutting costs on sensors and software, a mat that is too small, no full-swing clearance or club storage, skipping calibration and harsh cleaners on the screen.
For a lower-cost start, a net and mat setup skips the enclosure altogether. See net vs enclosure and our DIY enclosure guide when you are ready to plan the frame.
Frequently asked questions
Is a DIY golf simulator really cheaper?
Usually the enclosure is where DIY saves money. Carl's Place sells a DIY enclosure kit with impact screen from $999.95 and a Pro kit from $3,409.95, and Golfjoy puts DIY enclosures at $500 to $1,500 against $2,000 to $5,000 and up for professional ones. You still buy a monitor, projector, mat and PC either way, so compare what each package includes.
How long does it take to build one?
It varies. Rain or Shine Golf says its SwingBay enclosure assembles in under 20 minutes solo and the SwingNet Pro net in under 30 minutes, both per the retailer. A Carl's Place basement case study with 9 foot ceilings finished in a little over a month. Moving a ceiling fan or ductwork can add about one to two weeks, according to Golfer's Authority.
What is the hardest part of a DIY build?
Matching the parts and measuring the room. Projector throw distance and monitor placement both have to fit your space, and the mistakes list at the end of this page covers what builders most often skip.
Do packages include everything?
Not always. Carl's Place's EYE MINI CORE package lists the monitor, enclosure, screen, projector and mat, while its Garmin R10 and SkyTrak bundles may leave out the projector and mat. You also usually need your own PC. Read the contents list on each listing.
Do DIY enclosure kits cover the ceiling?
Carl's Place says both its DIY and Pro enclosures include an overhead ceiling panel, and ceiling baffles are available for more protection. Check that any frame you choose covers the ceiling, since high wedge shots are the main ceiling risk.