The short answer
A golf simulator projector setup comes down to three choices: where the lens sits, how far it is from the screen, and which picture shape you feed the screen. Short-throw projectors hang near the screen, standard-throw ones hang above or behind the golfer. Measure the swing first, because the projector must stay clear of the clubhead.
Image width runs across the room, so it does not show from the side. Divide the throw distance by the throw ratio to get it. The projector's own manual gives the exact mounting height and offset.
Plan the lens position before you buy the mount
The projector has one job: put a sharp picture on the impact screen without ending up in the path of a club or a ball. Everything else follows from where the lens sits. There are two layouts that builders use, and they lead to different projector types.
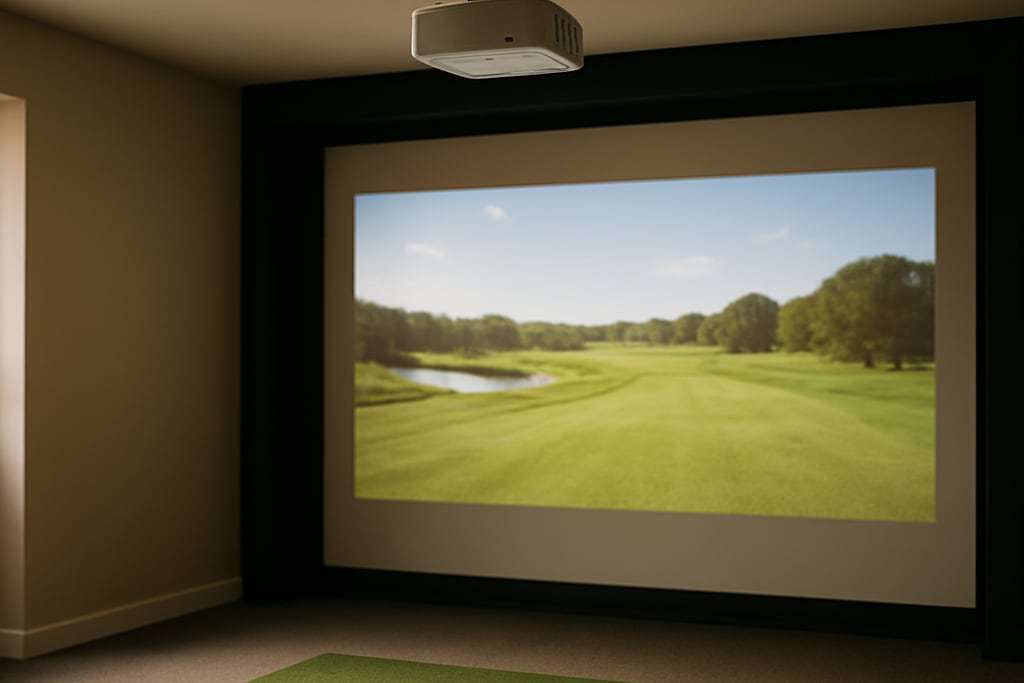
In the first layout the projector hangs close to the screen and throws a big picture from a short distance. BenQ suggests mounting a short-throw model on the target line about 7 to 8 feet from the screen. In the second layout the projector hangs above the golfer or a few feet behind. PlayBetter describes the ideal ceiling position as directly above, or 3 to 4 feet behind, the golfer. BenQ gives 2 to 3 feet in one section of its guide and 3 to 4 feet in another, so treat the numbers as a starting point and confirm with the maker’s own throw calculator.
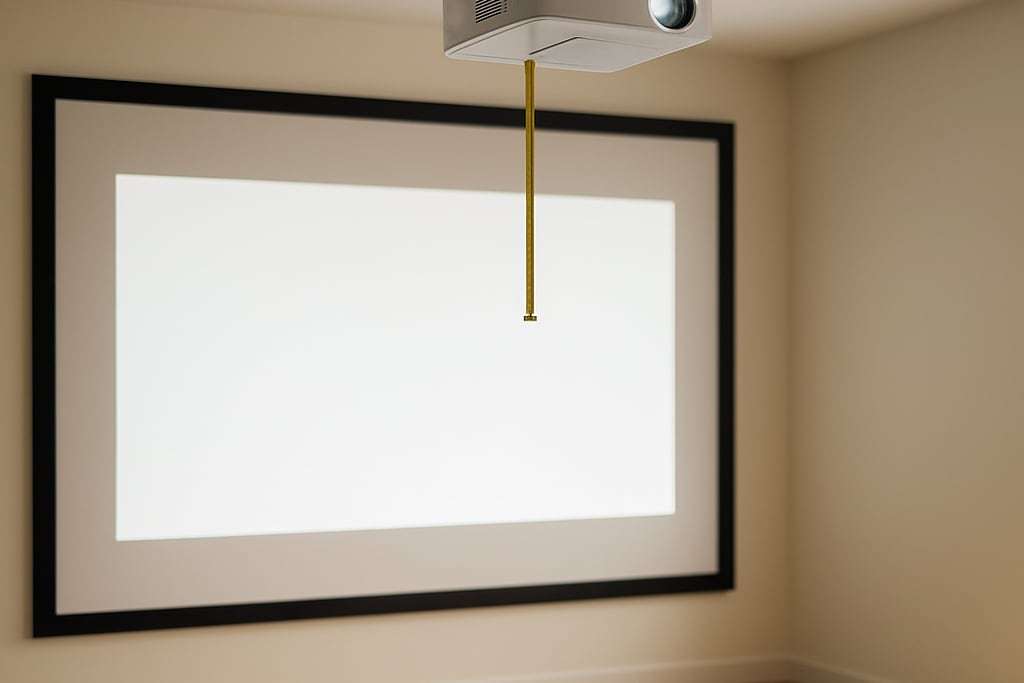
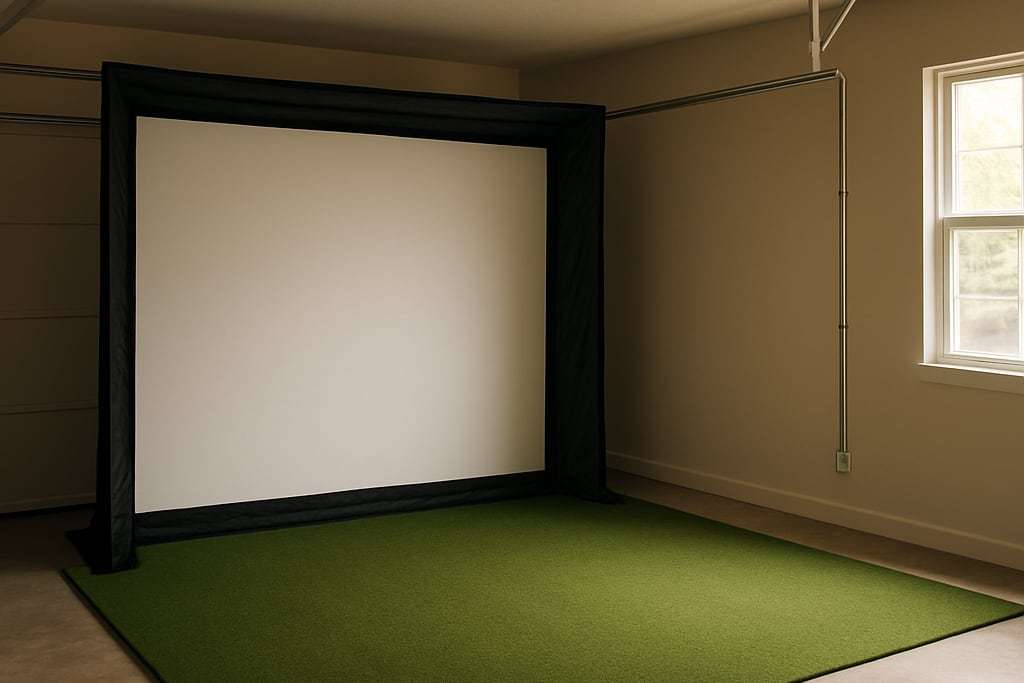
The diagram above shows the second layout: a ceiling mount behind the golfer, throwing forward over their head. Which layout suits you depends on room depth and on the projector you own. If you have not picked a model yet, the projector picks page compares short-throw options by brightness and price.
Match throw distance to the screen
Throw ratio is the link between the projector and the screen. It is the distance from the lens to the screen divided by the width of the image. PlayBetter’s example: a ratio of 0.8 and a 10-foot-wide image puts the projector 8 feet away. Short throw is usually described as a ratio around 1.0 or less, and typical short-throw models fall between 0.4 and 1.0.
Two projectors named in PlayBetter’s guide show how much that matters. The BenQ TH671ST has a ratio of 0.69 to 0.83, which for a 10-foot image means roughly 6.9 to 8.3 feet. The LG ProBeam BU53RG is 0.94 to 1.14, which is not short throw, and puts the lens about 9.4 to 11.4 feet from the same screen. The same room gives very different mount positions.
If you want to check your own numbers, the projector calculator turns a throw ratio and a screen width into a distance, and back again. Run it with the low and high ends of the zoom range, because the lens usually gives you a band, not one spot.
Here is the same sum for a few throw ratios and image widths. These are our own arithmetic (ratio times image width), not maker figures, and they show why the ratio matters.
| Throw ratio | 8 ft wide image | 10 ft wide image | 12 ft wide image |
|---|---|---|---|
| 0.69 (short throw) | 5.5 ft | 6.9 ft | 8.3 ft |
| 0.83 (short throw) | 6.6 ft | 8.3 ft | 10.0 ft |
| 0.94 (not short throw) | 7.5 ft | 9.4 ft | 11.3 ft |
| 1.14 (not short throw) | 9.1 ft | 11.4 ft | 13.7 ft |
Read across the row for your projector, then check that the distance lands where the mount can go, clear of the swing. The projector calculator does the sum for any ratio.
Ceiling mount, offset and keystone
BenQ says overhead installs are usually upside down, with the projector hung from the ceiling. The projector’s vertical offset describes where the picture sits relative to the lens. At 100 percent offset, BenQ explains, the top edge of the image lines up with the center of the lens. That matters when you decide how far below the lens the screen’s top edge should sit.
Keystone is the digital fix for a picture that is wider at one edge, usually because the projector is tilted. BenQ notes that offsets above 110 percent in rooms with ceilings under 9 feet may need tilt and keystone correction. The BenQ AH30ST ($1,499) and AH500ST ($1,999) are both listed with auto keystone, and with the mount sold separately, so budget for one.
A simple order of work:
- Hang the screen first, taut and wrinkle-free, so you are aiming at its final position.
- Center the projector on the screen horizontally and keep it level.
- Set zoom or distance so the image reaches the screen edges, allowing for the border below.
- Use lens shift or offset to place the top and bottom edges.
- Use keystone only for what is left.
Leave a margin. BenQ recommends a screen border of at least 2.4 inches (6 cm) so the projected image does not run off the screen.
Aspect ratio: why 4:3 shrinks the picture
Impact screens are typically 4:3, while projectors are native 16:9 or 16:10. A common approach is to take the native image and adjust it to 4:3. BenQ’s table shows what that costs: 4K at 3840x2160 becomes 2880x2160, Full HD at 1920x1080 becomes 1440x1080, and a 16:10 WUXGA image at 1920x1200 becomes 1600x1200. That is roughly 25 percent of pixels lost for a 16:9 source and about 17 percent for a 16:10 source, by our arithmetic on BenQ’s figures.
A 4:3 image is taller, which helps in a room with limited width. A forum builder with a 12-foot-wide garage fit a 4:3 screen where 16:9 would have been shorter. BenQ recommends 4K for screens wider than 14 feet, and says 1080p is acceptable below that.
Brightness, room light and lamp life
PlayBetter puts the lumen guidance at 1,500 to 2,000 for a dark room, 2,200 to 2,500 for most indoor setups, and 3,000 or more for bright spaces, garages or multipurpose rooms. BenQ suggests about 3,000 ANSI lumens for smaller screens and 4,000 or more, ideally laser, for screens 10 feet wide or wider. The spec lines on this site include the Optoma GT2400HDR at 4,200 ANSI lumens for $1,299 and the BenQ AH500ST at 4,000.
Room light matters too. Carl’s Place notes that a darker room gives a brighter, cleaner image, which is one reason basements work well. Golfer’s Authority lists lamp life at 3,000 to 4,000 hours, LED up to 20,000 hours and laser about 50,000 hours, while PlayBetter cites laser at 20,000 or more. BenQ adds that lamp projectors can drop to about 3,000 lumens on the screen after about a year of use.
Keep the projector out of the swing
The mount, the projector body and the cables all sit in a room where clubs move fast. Mark the swing arc with your longest club before you pick a spot and measure to the lowest obstruction. A short-throw projector near the screen has to sit on the target line, so check that your ball flight and screen rebound cannot reach it. A projector behind or above the golfer has to clear the backswing and follow-through. The garage build guide covers mapping obstructions. If the projector and an overhead launch monitor share the ceiling, plan both mounts together before you close up drywall.
A qualified contractor decides what the ceiling can carry, and an electrician should run any new outlet or cable run.
Cables and last checks
Plan the HDMI run before the projector goes up, and put a power outlet near the mount so you do not trail a cord across the swing zone. After the picture is aligned, test with your simulator software at full screen and read the on-screen text from the hitting position. If the edges clip or the picture looks soft, adjust zoom and focus again before you tighten the final bolts.
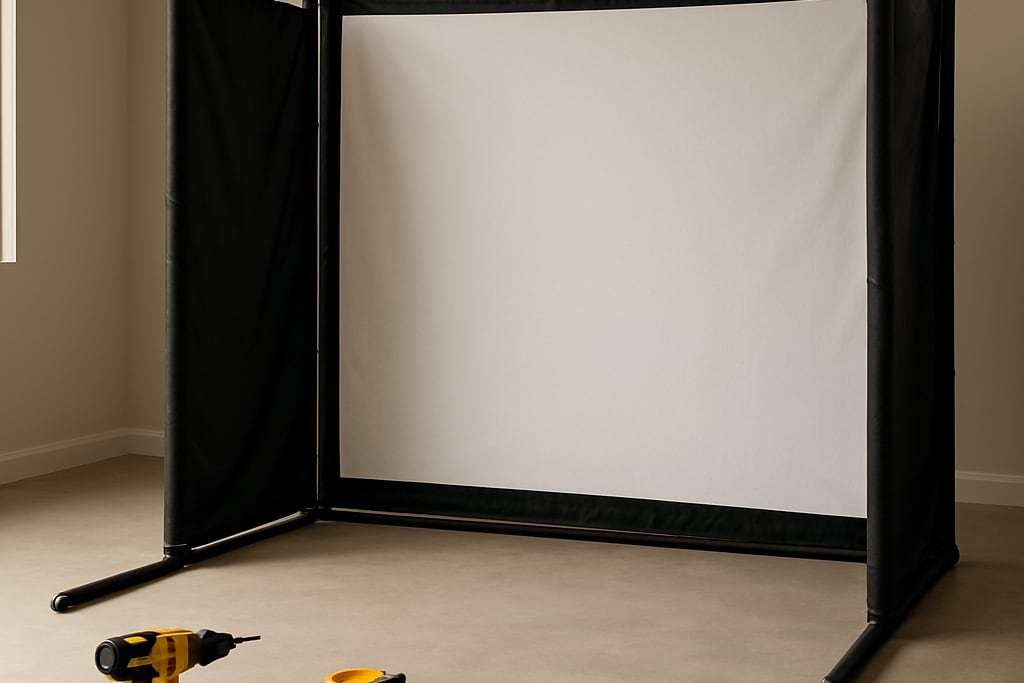
For the frame and screen tension that your focus depends on, see the DIY enclosure guide, and for screen choices the impact screen picks.
Run the numbers
Run your room through the room size calculator before you mount anything, and see the calculators page for the other tools.
Frequently asked questions
Where should a golf simulator projector be mounted?
The two common spots are near the screen and above or behind the golfer. BenQ suggests a short-throw projector on the target line about 7 to 8 feet from the screen, and PlayBetter describes a ceiling mount directly above or 3 to 4 feet behind the golfer for projectors with a longer throw. Either way, check your longest club's swing path before you drill into the ceiling.
Do I need keystone correction?
Only if the projector cannot sit square to the screen. BenQ notes that lens offsets above 110 percent in rooms with ceilings under 9 feet may need tilt and keystone correction. Keystone correction reshapes the picture digitally, so aim to mount the projector level and centred first and use correction for small leftovers.
Why is my picture smaller than the screen after I set it to 4:3?
Most golf projectors are native 16:9 or 16:10, and a 4:3 image uses only part of the panel. BenQ's table shows 1920x1080 becoming 1440x1080 in 4:3, so you lose roughly a quarter of the pixels. That is normal, and it is why higher-resolution projectors are suggested for wide screens.
Can a ball hit the projector?
Yes, anything near the strike line can be hit. BenQ says to mount a short-throw projector on the target line about 7 to 8 feet from the screen specifically to avoid ball strikes, which means keeping it close to the screen and well out of the club's path. No position is risk-free, so measure your own swing and ball flight before you drill.
What do I need to know about projector brightness?
PlayBetter lists 1,500 to 2,000 lumens as the minimum for a dark room and 3,000 or more for a bright garage or multipurpose room. Room light changes what you need: Carl's Place says a darker room gives a brighter, cleaner image, and Shop Indoor Golf suggests shades to cut natural light.